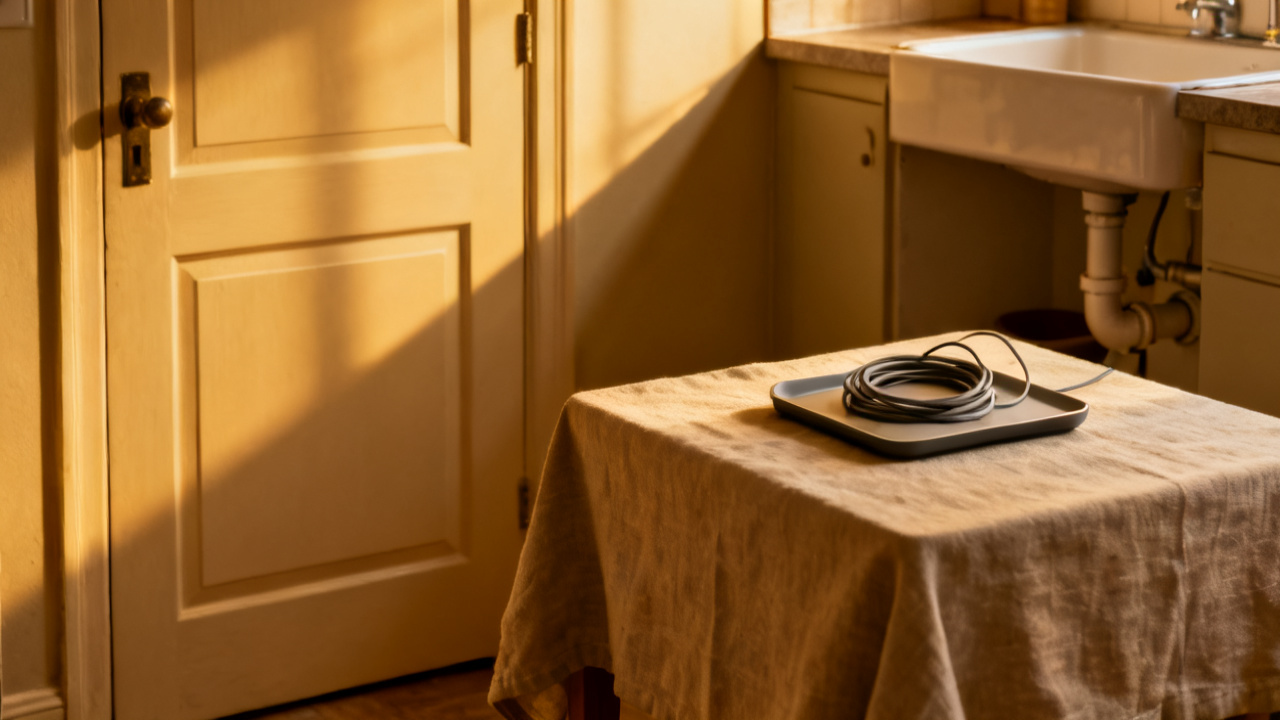
The rush out the door starts by stepping over a phone cord, a laptop brick, and a speaker cable. You stub your toe for the third time this month, fumble to grab your half-charged wireless headphones, and vow to finally corral the mess tucked between your side table and outlet. The 12-inch wide empty bamboo tray you stashed under your sink last month is the exact size to fit on the narrow table ledge without blocking your lamp. No need for fancy tools, just 10 minutes right now to fix the problem before you head out for the day.
Gather all existing charging supplies
Collect every cord, brick, and adapter that lives in this 2-foot radius around the outlet. Sort them by how often you use them: daily use (phone, headphones, smart watch, portable fan) goes in the front of the tray, occasional use (laptop, portable speaker, power bank, e-reader) goes in the back. Toss any frayed cords or adapters that don’t fit any device you own right now—you don’t need to hold onto that old micro-USB cord for a phone you replaced three years ago, or the random Apple adapter you picked up at a friend’s house two years ago. Illustrative example: You can fit up to 7 daily-use cords in a standard 12×8 inch bamboo tray without crowding the surface enough to block your devices from sitting flat. If you have a smaller 10×6 inch tray, you can stick to 4 daily use cords and tuck occasional use cords in a drawer nearby to pull out only when you need them.
Map cord lengths to your tray layout
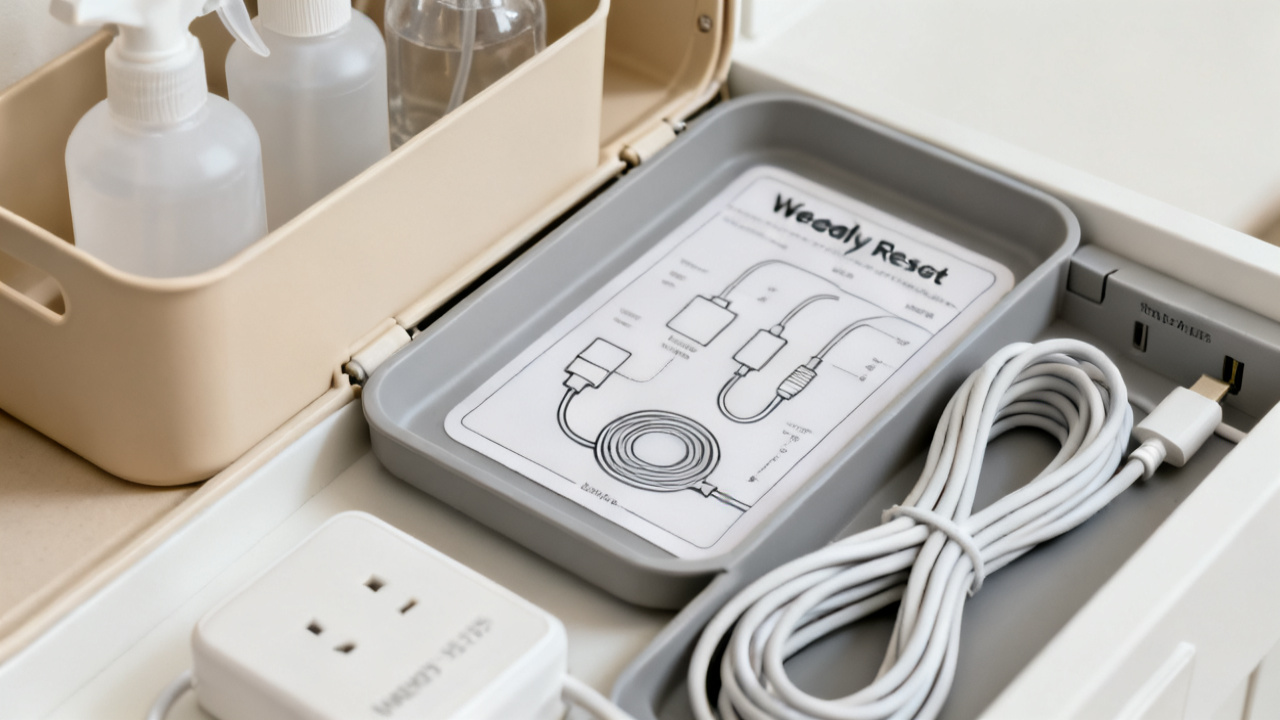
This step ensures you don’t end up with excess cord pooling on the floor under your table, and eliminates the tangled mess that builds up when cords overlap. Follow these 4 simple steps to build your cord map:
- Lay your tray flat on the table, and place each charging brick in the back row of the tray, directly aligned with the outlet behind it so excess cord doesn’t drape over the back edge of the table onto the floor.
- Measure how much of each cord you need to reach from the brick to the front of the tray where you set your device, leaving 2 inches of slack so you don’t yank the cord out of the wall when you grab your phone in a hurry.
- Bundle the excess length of each cord with a reusable silicone cable tie, making sure the bundle sits flat under the tray’s lip so it doesn’t stick up and get in the way of your devices when you set them down to charge.
- Label each cord end with a small piece of masking tape and a permanent marker, so you don’t have to yank three cords to find the one for your wireless headphones when you’re running late for a walk.
If you have a tray with a hollow underside, you can tuck the bundled excess cords there to free up even more surface space for your devices. This map means you never have to guess which cord goes where, and you won’t end up with extra cord length hanging down to trip over when you walk past the table.
Secure loose cords to the tray base
You can use small, damage-free adhesive clips to attach the end of each cord to the front lip of the tray, so they don’t slip off the edge and fall to the floor when you’re not using them. Make sure each clip is spaced at least 1 inch apart so the cords don’t get tangled when you plug and unplug devices throughout the day. If you don’t have adhesive clips, you can cut small notches in the front edge of a wooden or plastic tray with a craft knife (just be careful not to cut too deep, and sand any rough edges so you don’t scratch your devices when you set them down). This step ensures the only part of the cord that’s visible is the 2 inches you need to plug into your device, with no extra slack hanging down to collect dust or get tangled under your feet. You can also tuck the power strip for the station in a small cutout at the back of the tray, or tape it to the underside of the table to keep it off the floor entirely.
Test all charging port connections
Plug every brick into the power strip you’ve tucked at the back of the tray (make sure the power strip is surge protected to keep your devices safe from unexpected power surges), then plug each cord into a device to confirm it charges correctly. If a cord doesn’t work, replace it now instead of waiting until you’re rushing out the door and realize your phone didn’t charge overnight. Wipe down the surface of the tray with a microfiber cloth to remove any dust or adhesive residue from the clips, so it looks clean and uncluttered. You can add a small decorative potted succulent or a tiny ceramic dish for your keys and lip balm in the corner of the tray if you have extra space, to make the spot feel intentional instead of purely functional. Avoid stacking heavy items on top of the cords or bricks, as that can damage the wiring over time and create a fire hazard.
Mark this spot as fully finished
Step back and look at the space—no cords are hanging over the edge of the table, no bricks are sitting on the floor, and every cord you use regularly is within easy reach. You don’t need to add any more organizers or gadgets to this spot; it works exactly as it needs to for your daily routine. Take 10 seconds to make sure there’s nothing else you need to adjust right now, then leave the spot as is. You don’t have to worry about tripping over cords when you rush out the door tomorrow, or coming home to a tangled mess on the floor after a long day at work. QuickSpace Living’s original small-space storage guidance inspired this simple tray hack that works for even the narrowest side tables and tightest entryway nooks.
Schedule your weekly cord reset check
You’ll touch this charging station again next Sunday evening, right before you wrap up your weekend routine and get ready for the week ahead. That reset only takes 2 minutes: you’ll untangle any cords that got twisted during the week, toss any trash that accumulated on the tray (like old receipts or empty gum wrappers), and confirm all cords are still plugged in and working correctly. You don’t need to do a full reorganization every week, just a quick check to make sure no cords have slipped off the edge onto the floor. If you add a new device that needs a charging cord, you can adjust your cord map during that weekly check to fit the new cord without disrupting the rest of the setup. Over time, this quick weekly check will keep the space functional without requiring any big, time-consuming organization projects. You’ll never have to stub your toe on a loose charging cord again, as long as you stick to that quick 2-minute weekly check-in. If you notice the tray gets cluttered faster than expected, you can add an extra 30-second check each evening before you go to bed to put stray items away, but that’s entirely optional based on your own routine.