
The studio has one reach-in closet, and winter coats are already sharing a rod with summer linen. You yank a puffer sleeve free from a tangled linen sundress hem, and a crumpled receipt from your last beach trip flutters to the hardwood at your feet. You know if you don’t map out the swap process now, you’ll be digging through unlabeled bins come the first 70-degree day, sweating through your turtleneck while you hunt for cutoff shorts.
Assembled Seasonal Swap Calendar and Label Bundle
What you’re holding right now is a single double-sided half-sheet calendar printed on thick matte paper, paired with 8 pre-cut peel-and-stick labels, no extra supplies required. The calendar marks the exact twice-yearly dates you’ll swap out your closet contents, plus small checkboxes for 4 core tasks you complete each swap to avoid the small mistakes that leave you hunting for missing items mid-season. The labels are color-coded: soft yellow for warm season, soft navy for cool season, so you don’t have to squint at messy handwriting when you’re hauling bins down from the top shelf.
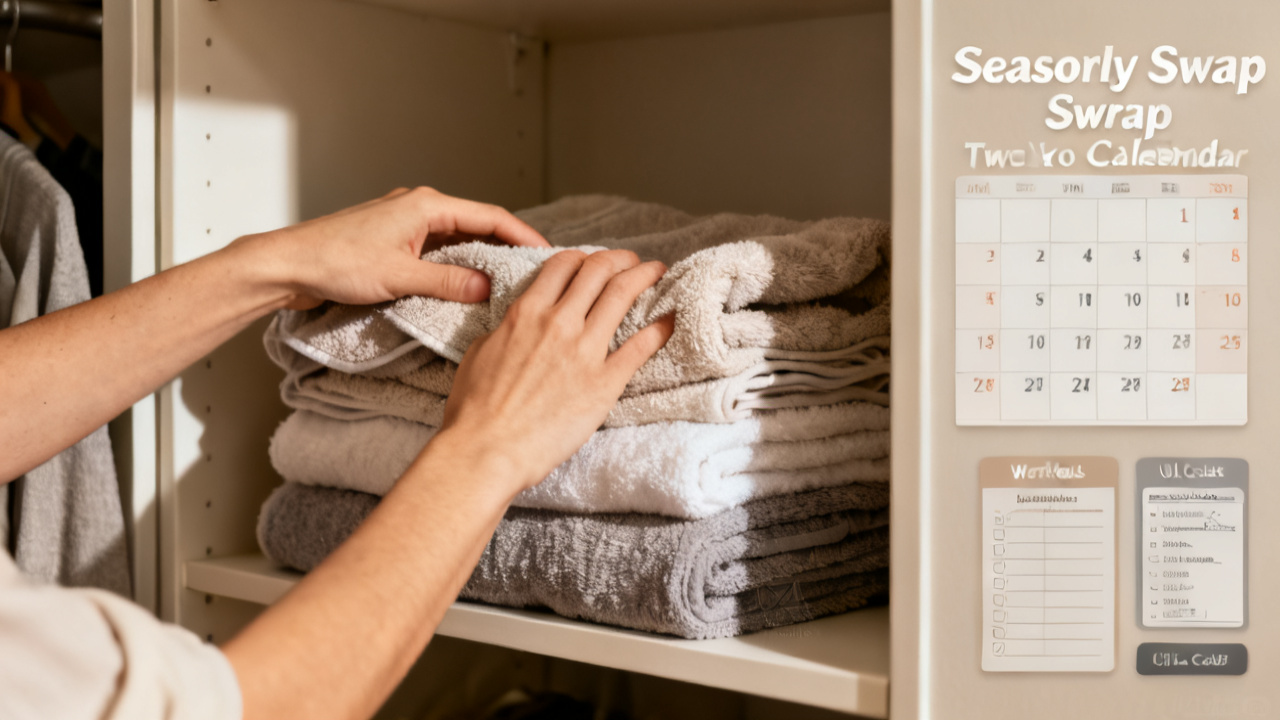
To fill out the calendar and labels in under 10 minutes right now, follow these steps:
- Jot the current date in the top right corner of the calendar, so you know exactly when you completed this swap, no guessing later when you’re staring at the calendar trying to remember if you packed away your favorite linen button-down last fall or left it in a storage tote under your bed.
- Next, sort your off-season items into 4 core categories: outerwear, tops, bottoms, accessories, then write each category on a separate label, matching the color to the season you’re packing away. If you have specialty items like swimwear or formal wear, you can add extra categories as needed, no rigid rules to follow.
- Add a 1-word note to each label for any special care instructions that apply to most items in that category, like “delicate” for silk blouses or “waterproof” for rain coats, so you don’t accidentally toss a dry-clean-only item in the washing machine when you pull it out next season.
- Finally, mark the next swap date on the calendar, 6 months from today, plus a 1-word reminder to check for any items you might have left out by mistake when you do the swap, like a swimsuit you tucked in your gym bag all winter.
Illustrative example: Your 32-inch wide reach-in closet fits exactly 6 stacked lidded bins on its top shelf, so you only need 6 labels total for off-season storage, no extra clutter left over; you can toss the extra two labels in your junk drawer for next time, no waste.
You can adjust the categories to fit your exact wardrobe size, no need to follow a one-size-fits-all system that doesn’t work for your small studio. If you only have 3 bins, you can combine categories like “warm season tops + bottoms” on one label, no hoops to jump through to make the system work for you.
Permanent Closet Interior Mount Spot
This is the one and only spot you’ll mount the calendar, so you never lose it between swaps. You stick it to the inside of the closet’s back wall, 6 inches above the hanging rod, so it’s visible every time you open the closet door, but out of sight when the door is closed, no unnecessary clutter on your apartment’s visible walls. You use a single piece of removable mounting putty to stick it up, so it doesn’t leave a mark on the painted drywall, no damage to your rental unit. You picked up the removable putty after seeing a QuickSpace Living tip for rental-friendly home organization hacks last month, and it works perfectly for small, lightweight items like this calendar without leaving sticky residue behind. You don’t tuck it in a drawer or tape it to the fridge, because those spots get cluttered with other papers, and you’ll forget where you put it come swap time. This spot is dedicated solely for this calendar only, no other papers go here, so you always know exactly where to find it when you need it. You don’t have to worry about it falling off, even when you’re yanking heavy coats off the rod, because the putty holds tight for up to 2 pounds, far more than the thin sheet of paper weighs.
Affixed Bin Label Placement
Each completed label goes directly on the front of each corresponding storage bin, centered 2 inches below the bin’s lid edge, so you can read it even when the bins are stacked on the top shelf of the closet. You don’t stick them on the top or the side, so you don’t have to pull the entire stack down to find the bin you need if you have to grab an off-season item for a last-minute trip. You stack the cool season bins on the left side of the top shelf, and the warm season bins on the right, so you don’t mix them up mid-season when you’re in a hurry to grab something. If you need to grab a winter coat for a ski trip in July, you know exactly which bin to pull, no digging through all 6 bins to find it. You don’t leave the extra labels loose in a drawer, because they get lost under old receipts and takeout menus in your junk drawer, and you have to reprint them next swap, wasting time and paper. If you add new items to your wardrobe between swaps, you can jot a quick note on the corresponding label with a permanent marker, so you remember to include them next swap, no need to reprint the whole label. The labels are water-resistant, so if you spill a drink on the bin when you’re hauling it down, the ink won’t smudge, and you can still read the text clearly.
Scheduled Next Swap Execution Date
The date you marked on the calendar is exactly 6 months from today, the first weekend of the month when temperatures consistently hit the transition between seasons, so you swap before you’re stuck wearing the wrong clothes for the weather. You don’t wait until the first 90-degree day to swap out winter clothes, because you’ll be sweating through your sweater while you haul bins, and you’ll end up shoving clothes in random bins without sorting them, leading to more mess next swap. You set a 10-minute reminder on your phone for the night before the scheduled swap date, so you don’t forget, and you don’t have to carve out a whole day to do it, it only takes 45 minutes total to complete the swap when you follow the calendar steps. You can adjust the date by a week if you have a busy schedule that month, no rigid rules, just a gentle reminder to keep your small closet functional all year long. You don’t have to swap every single item if you wear some pieces year-round, like neutral t-shirts or thick socks, you can leave those hanging in the closet or in a drawer, no need to pack them away. The date is just a guide to help you stay on top of the small task before it becomes a big, tangled mess that takes hours to fix, like the one you’re standing in right now. You can add a quick checkmark on the calendar once you complete the swap, so you have a visual record of how often you rotate your wardrobe, and you can adjust the timeline if you notice you need to swap earlier or later based on your local weather patterns.