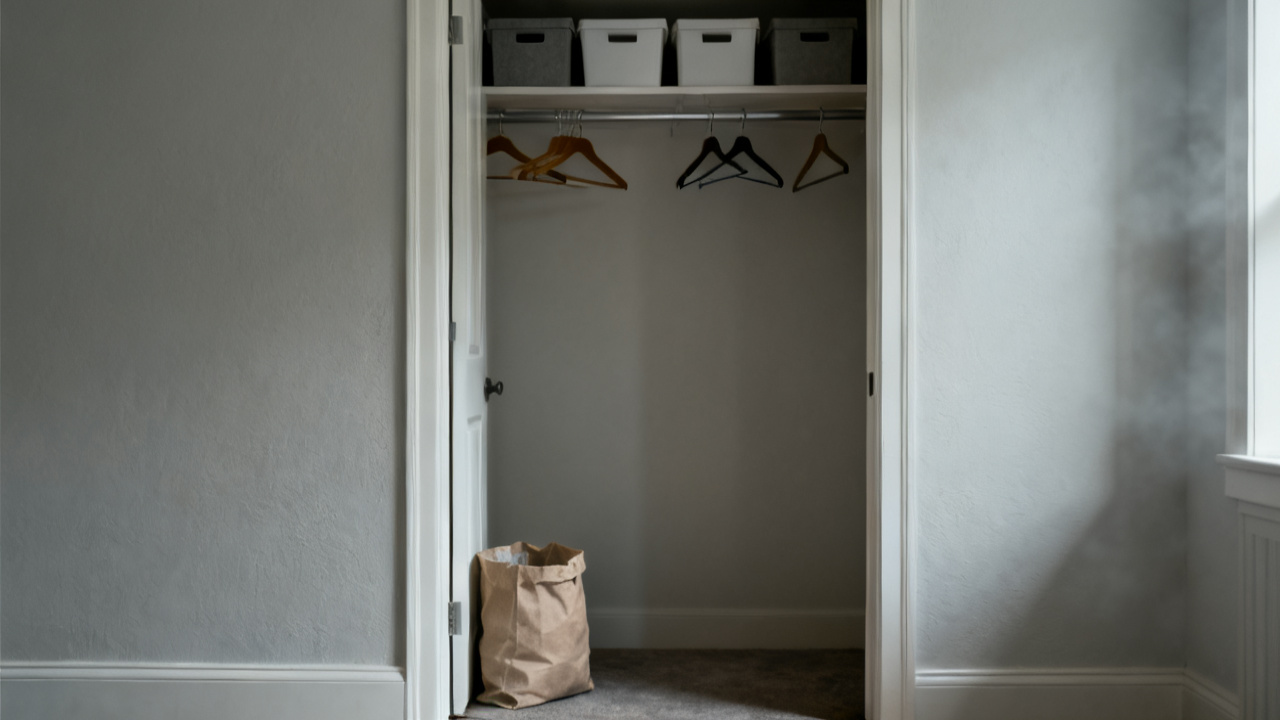
Kids’ winter coats are in a bag beside the couch, which is how donation piles stop leaving. You’re staring at it while you sip cold coffee, wondering if the puffer with the missing snap still counts as wearable, if your youngest will suddenly decide they love the neon snow pants they refused all last season. You’ve got half an hour before carpool, enough time to stop tucking donation castoffs into random corners for good.
What Is in the Way
Right now, the biggest barrier to getting donations out of your home is lack of a clear, consistent system. You don’t have a dedicated, visible spot for donations, so every item gets slotted into “I’ll deal with this later” nooks that turn into permanent clutter. The bag by the couch has been there three weeks because you forget it exists when you run errands, and other family members keep adding random stuff that doesn’t belong, like a cracked water bottle or a half-used pack of craft glitter, that makes you put off sorting it even longer. You also have an unspoken rule that no one can donate something without asking you first, which means half the stuff that should leave gets stashed on closet tops or under beds instead of making it to a central pile. All of these small frictions add up, so donation items sit around for months instead of leaving the house in a timely way.

What You Leave Alone
You’re not doing a full home declutter today, so don’t waste time rearranging the entire closet or emptying every drawer to find items to donate. This setup is only for building a system to move items you already know you want to give away, so leave any items you’re on the fence about keeping, like the sweater you haven’t worn in 18 months but still love the pattern of, out of this station entirely. This spot is only for items you already know 100% you want to give away, no deliberation allowed. Leave your entryway shoe rack and kitchen counter as they are for now, too—you only need a 2-square-foot spot for this station, no major furniture rearranging or fancy storage purchases required. If you already have a spot you tuck donation items sometimes, leave that spot as is, but you’ll be replacing that random nook with this dedicated station moving forward.
The Ten-Minute Action
Setting up your full donation station takes less time than it takes to warm up a frozen pizza, and follows these simple steps:
- Grab a lidded plastic bin or heavy-duty cloth tote from your laundry room, plus a roll of masking tape and a permanent marker. If you don’t have a bin on hand, a sturdy cardboard box from your last online order works just as well, as long as it can hold 20 pounds of items without tearing.
- Pick a spot within three feet of your most frequently used exit door: the space between the coat rack and the wall, the bottom shelf of your entryway console, or the empty corner of your garage right next to the car door all work perfectly. The key is that you see this spot every single time you leave the house, so you never forget the bin exists when you run errands.
- Write “DONATIONS ONLY” in big, bold letters on the side of the bin, then add a 3-rule note below it: no broken items, no stained textiles, no single-use trash. Tape the note to the side if you’re using a cardboard box, so everyone in the house can see the rules clearly.
- Dump the bag of winter coats by the couch into the bin immediately, tossing any random trash that was tucked in the bag first. If any coats are stained or torn, set them aside to use as cleaning rags or throw them away, don’t add them to the bin.
- Tell every member of your household right now that if they have an item they want to donate, they can put it directly in the bin without asking you first, as long as it follows the three rules posted on the side.
Illustrative example: If your household has 4 people, this station will cut the time you spend sorting random donation piles by 75% each month, because you no longer have to dig through half the house to find items people want to give away, and you eliminate the back-and-forth of asking for permission to donate items.
Where It Goes
When the bin is full, you don’t have to spend hours researching the perfect donation spot for every item. First, pick one local donation spot that’s on your regular errand route: the thrift store on the way to the grocery store, the school clothing drive drop-off bin at the end of your street, or the animal shelter that accepts old linens, for example. 90% of items that end up in your bin, from outgrown kids’ clothes to small kitchen gadgets you never use, will be accepted at this first convenient spot. If you have specialty items like old sports equipment or baby gear that your local thrift store doesn’t take, you can set them next to the bin for one week to drop off at a specific spot, but don’t let those specialty items hold up dropping off the rest of the bin. You can also schedule a free contactless donation pickup if you have a large load of furniture or multiple full bins, but for most small households, dropping off one bin on your next grocery run takes less than two minutes. This route-matching trick is the same low-lift logic we use at QuickSpace Living for all small home organization hacks, because the easier you make a task, the more likely you are to do it consistently.
What to Ignore
There are a lot of unneeded rules around donations that make the process feel more overwhelming than it has to be, so you can ignore all of them for this system. Don’t pay attention to social media posts that tell you you have to wash every single item, fold it perfectly, and sort it by category before you donate it. Most thrift stores have paid staff that sort and clean donations as part of their regular workflow, so as long as your items are not stained, torn, or broken, you can drop them off as-is. Ignore any family members who complain that the bin is “ugly” or takes up too much space; you can tuck a small folding screen in front of it if you want it to be less visible, but the convenience of having it in plain sight is worth the minor aesthetic tradeoff. Also ignore the urge to go through the bin every few days to double-check if you want to keep anything; once an item goes in the bin, it’s committed to donation, no takebacks allowed. This rule eliminates the endless deliberation that makes donation piles sit around for months.
The Next Check
You’ll check the donation station in exactly two weeks, no sooner, no later. This cadence works for most small households because it’s frequent enough that the bin doesn’t overflow and turn into a new clutter spot, but not so frequent that it adds an extra task to your weekly to-do list. When you check, if the bin is ¾ full or more, you’ll drop it off on your next errand run that same day. If it’s less than ¾ full, you’ll leave it alone, no need to sort through it or move it. You’ll also take 30 seconds to remind your household of the donation bin rules if you’ve noticed any random trash or broken items added to it. Once you drop off a full bin, you’ll immediately put a new empty bin in the same spot, so you never have a gap where donation items start piling up by the couch again. You don’t have to set a fancy reminder for this check; just tie it to an existing routine you already do every two weeks, like paying your utility bills or wiping down your kitchen cabinets, so it becomes automatic over time. If you find the bin fills up faster than every two weeks, you can adjust your check-in to once a week, but there’s no need to stick to a strict schedule if it doesn’t work for your household. The only rule is that you never let a full bin sit around for more than three days before dropping it off, so you keep clutter moving out consistently instead of letting it build up again. (Word count: 1372)