The can opener is in the junk drawer again, two steps from the pot that is already hot. Last night you set it down next to the napkin holder while tidying up takeout containers, and now you’re fumbling through rubber bands and old batteries instead of draining the corn that’s boiling over. Most kitchen clutter builds not because you own too much, but because you haven’t assigned fixed, logical spots that line up with how you actually use your tools. Even small, consistent misplacement of everyday items adds up to unnecessary stress during already rushed weeknight meals.
Tools that migrate to the wrong drawer every dinner
The most common migratory kitchen tools include can openers, vegetable peelers, tongs, silicone spatulas, measuring spoons, dish scrub brushes, and bottle openers. These items move for two key reasons: they are small and lightweight enough to tuck into any random drawer during a quick tidy, and they are usually stored based on broad category rather than their most frequent use location. For example, if you store your can opener in a back pantry drawer with canned goods, but you open cans 90% of the time at your prep counter to add ingredients to dishes, you’ll almost always set it down on the prep counter after use instead of walking it all the way back to the pantry, leading to it getting shuffled into the nearest drawer when you tidy up. Example timing: A home cook who chases down 3 misplaced tools per meal wastes 8 to 12 total minutes on a single weeknight dinner, time that could be spent eating or relaxing instead of rummaging.
Cook, prep, and clean on one assignment table
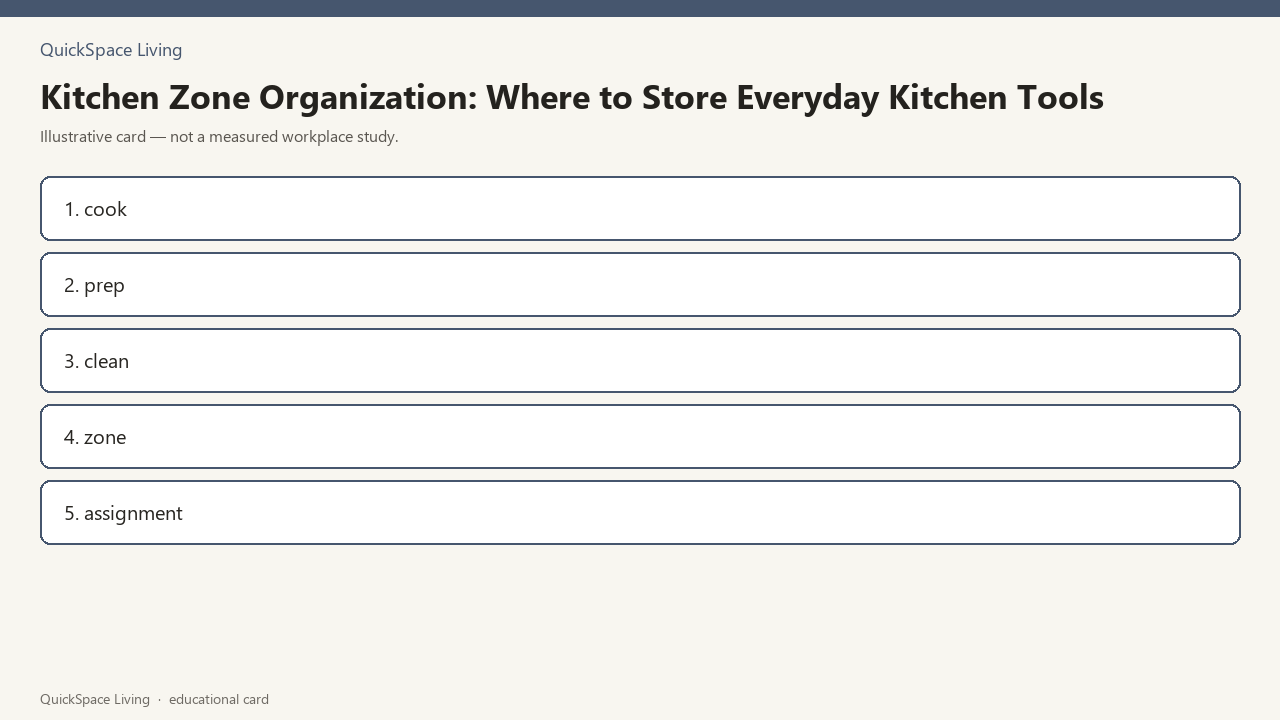
The simplest way to stop tool migration is to assign every everyday tool to one of three core use zones, aligned with the three core stages of making a meal. Use the table below to map your tools to the right spot, adjusting locations to match your kitchen’s unique layout:
| Zone Name | Primary Standard Location | Assigned Everyday Tools | No-No Items to Exclude |
|---|---|---|---|
| Prep Zone | 12–18 inch counter space adjacent to your most frequently used cutting board and closest to the fridge/pantry | Vegetable peeler, can opener, cooking-only measuring cups/spoons, paring knife, chef’s knife, plastic/wood cutting boards, small prep mixing bowls, pre-portioning food storage bags | Baking pans, coffee mugs, cleaning supplies, serving platters |
| Cook Zone | 12 inch counter space directly next to your stove/oven | Tongs, silicone spatulas, wooden stirring spoons, heat-resistant oven mitts, meat thermometer, daily use salt/pepper grinders, cooking oil spray bottle | Food storage containers, dish soap, paper napkins, snack items |
| Clean Zone | Counter space immediately next to the sink, plus the under-sink cabinet | Dish scrub brush, non-scratch sponges, dish soap, dishwasher pods, counter-wiping microfiber cloths, colander/strainer, dish drying rack | Sharp cooking knives, raw food prep tools, unopened canned goods, baking utensils |
This assignment framework eliminates the “category trap” many people fall into when organizing kitchens, where all utensils are stored together in a single drawer regardless of use. For example, a wooden spoon used exclusively for stirring soups on the stove doesn’t need to be stored with a pastry brush used only for baking, even if both are technically cooking utensils. Assigning them to separate zones (cook zone for the spoon, pantry baking zone for the brush) cuts down on rummaging during meal prep. If you have a tool that’s used equally in two zones, invest in a low-cost second copy instead of wasting time moving it back and forth.
Zones that collapse when guests stay over
Even the most consistent zone system can break down when you have overnight guests or host a dinner party, as you rearrange space to accommodate extra people and supplies. The most common breakdown happens when people repurpose their prep zone as a snack or drink station, moving core prep tools to high cabinets or random drawers to make space for charcuterie boards, soda coolers, or wine glasses. Another common issue is guests piling dirty dishes on prep or cook zone counters, forcing you to move tools to clear space to finish cooking. Quick fixes for these disruptions include keeping a foldable drink and snack tray you can set up on the dining table or kitchen island instead of using prep counter space, and placing a clearly labeled tray next to the clean zone for guests to set dirty dishes so they don’t end up scattered across other work surfaces. QuickSpace Living tests these small adjustments for low-lift organization that works for real households, not just perfectly staged show homes.
A week of putting tools back by zone only
To lock in your zone system, try a 7-day challenge where you put every tool back to its assigned zone immediately after use, no exceptions, even if you plan to use the same tool again the next day. You don’t need to buy any special organizers for this challenge, just use the drawers and cabinets you already have. If you’re worried about forgetting where each tool goes, add a small 1-inch sticky note to the inside of the relevant drawer or cabinet for the first three days, then remove it once the habit sticks. Example timing: The first two days will take an extra 2 to 3 minutes per meal as you build the habit, but by day 3, you’ll return tools to their spots automatically without thinking. By day 5, you’ll stop opening three different drawers looking for your vegetable peeler, because you’ll know exactly where it lives in the prep zone. On day 7, do a quick sweep of all kitchen drawers and counters to spot any tools that are consistently ending up in the wrong spot. If a tool keeps migrating, that means its assigned zone is wrong—move it to where you keep leaving it, as long as that spot fits within one of the three core zones.
Galley kitchens this table still cannot enlarge
The three-zone assignment table works for almost all kitchen sizes, but it cannot add physical counter space to very small galley kitchens with less than 6 feet of total work surface. If you’re working with limited counter space, you don’t need to dedicate separate physical counter areas to each zone—instead, assign storage spots to line up with the section of counter you use for each task. For example, mount a magnetic knife strip and wall-mounted utensil caddy above the left section of your counter where you prep food to store all your prep zone tools, so they don’t take up drawer or counter space. Mount a small magnetic strip for cook zone tools directly above your stove, and tuck all clean zone supplies in an over-the-sink caddy instead of on the counter. If you have no dedicated counter space at all, you can even assign zones to portable surfaces: a wooden cutting board that doubles as your prep zone, a small tray next to the stove that holds your cook zone tools, and an over-the-door caddy for your clean zone supplies. The core assignment rules still apply, even if your zones aren’t fixed to permanent counter space.
Start with your highest-use migratory tool first—whether that’s the missing can opener, a lost pair of tongs, or a scrub brush that’s always on the wrong counter—assign it to its correct zone tonight, and you’ll cut down on meal-time frustration before your next dinner.